From First Conversation to Finished Floor
A practical flooring process gives each decision a logical place. Start with the room and how it is used, compare materials, prepare the space, and then move toward installation and final details.
- ✓Discuss the room, priorities, appearance, and practical needs.
- ✓Review dimensions, adjoining floors, and preparation considerations.
- ✓Compare flooring materials, colors, textures, and formats.
- ✓Plan installation details, transitions, and final review.
Built Around the Rooms You Live In
Flooring is a sequence of practical choices: how the room is used, what surface characteristics matter, how adjoining spaces connect, and what appearance feels right in the home.
Better Flooring Decisions Start With Better Information
Each stage helps clarify the next so the selected flooring reflects the room, the household, and the visual direction you want.
Needs
Prepares
Floors
Use
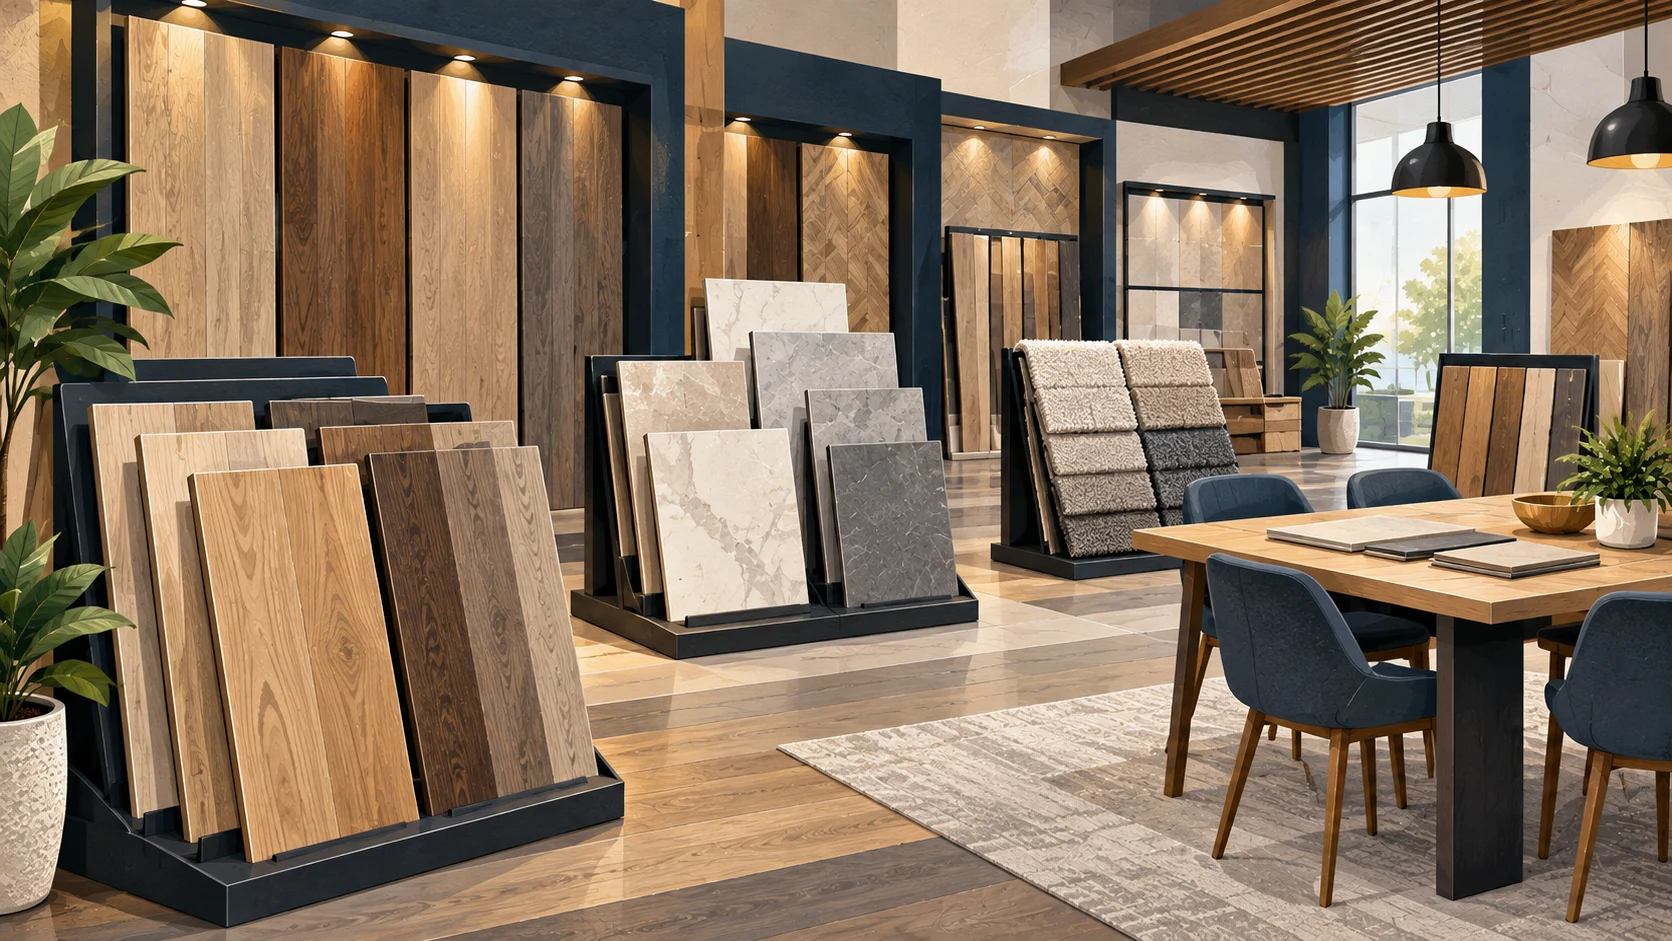
A Clear Sequence for a More Informed Flooring Decision
The first stage is to define the project in plain terms. Identify which rooms are involved, what is not working about the current floor, and what you would like to change. Describing practical frustrations alongside design goals helps separate must-have qualities from preferences that may be flexible.
Next, compare materials that fit the intended use of each space. Instead of looking only at color, ask what product characteristics matter for traffic, comfort, cleaning, and connection to nearby rooms. Narrowing the comparison to a few plausible categories keeps the selection process manageable.
Turn the Shortlist into a Room Plan
Once the material direction is clearer, review the physical conditions of the room. Existing surfaces, measurements, door clearances, transitions, and substrate preparation can affect the final plan. Product-specific instructions should be considered before treating a layout or installation method as settled.
Visual choices and technical planning then meet. This is the time to look at larger samples, consider plank or tile direction, compare trim and transition details, and decide which questions still require an answer. Clear decisions at this stage can make the next conversation more productive.
Review Choices Before Moving Forward
Finally, review the completed choices against the original goals. Does the selected material suit how the room will be used? Are the maintenance expectations understood? Are the transitions and preparation questions addressed? A deliberate review helps keep the final flooring plan connected to the reasons for starting the project.